🖥️ Hosting
We have partnered with VYKIX.com (opens in a new tab) after observing many of our clients and users utilize VYKIX services and products. Check them out for affordable and reliable hosting, they bring the best hosting experience possible, and that's not just for DayZ servers - they can host anything, including bots and websites 📈
📌 Why VYKIX?
- Affordable - VYKIX offers the best prices for the best quality, and they are always looking to improve their services and products.
- Reliable - VYKIX has been around for a while, and they have been providing the best hosting experience possible for their clients.
- Support - VYKIX has a dedicated support team that is always ready to help you with any issues you may have.
- Quality - VYKIX has the best quality servers, and they are always looking to improve their services and products.
- Security - VYKIX has the best security, and they are always looking to improve their services and products.
📌 What can I host?
You can host anything you want, including bots, websites, and DayZ servers. VYKIX has the best quality servers, and they are always looking to improve their services and products.
📌 How do I get started?
For this guide/tutorial, we will be setting up our CFTools Discord Bot - we recommend you follow along with that guide/tutorial to get your bot up and running, and afterwards compress all your configured files into a .zip file and upload them to your VYKIX server.
Step 1: Visit VYKIX.com
Visit VYKIX.com (opens in a new tab) and sign up for an account. Use promo code Mirasaki for a 5% discount
Step 2: Discord Hosting
Once you have signed up, you can create a Discord hosting server here (opens in a new tab)
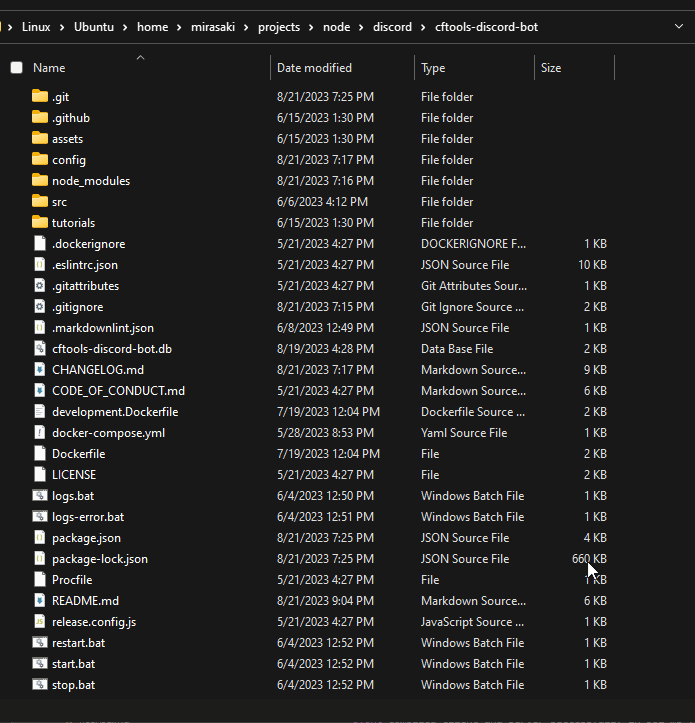
Step 3: Creating your zip file with configured files
Once you are done configuring and setting upyour bot, create a compressed archive of all your files.
Do NOT include the node_modules folder in your .zip file, as VYKIX will install the required dependencies for you.
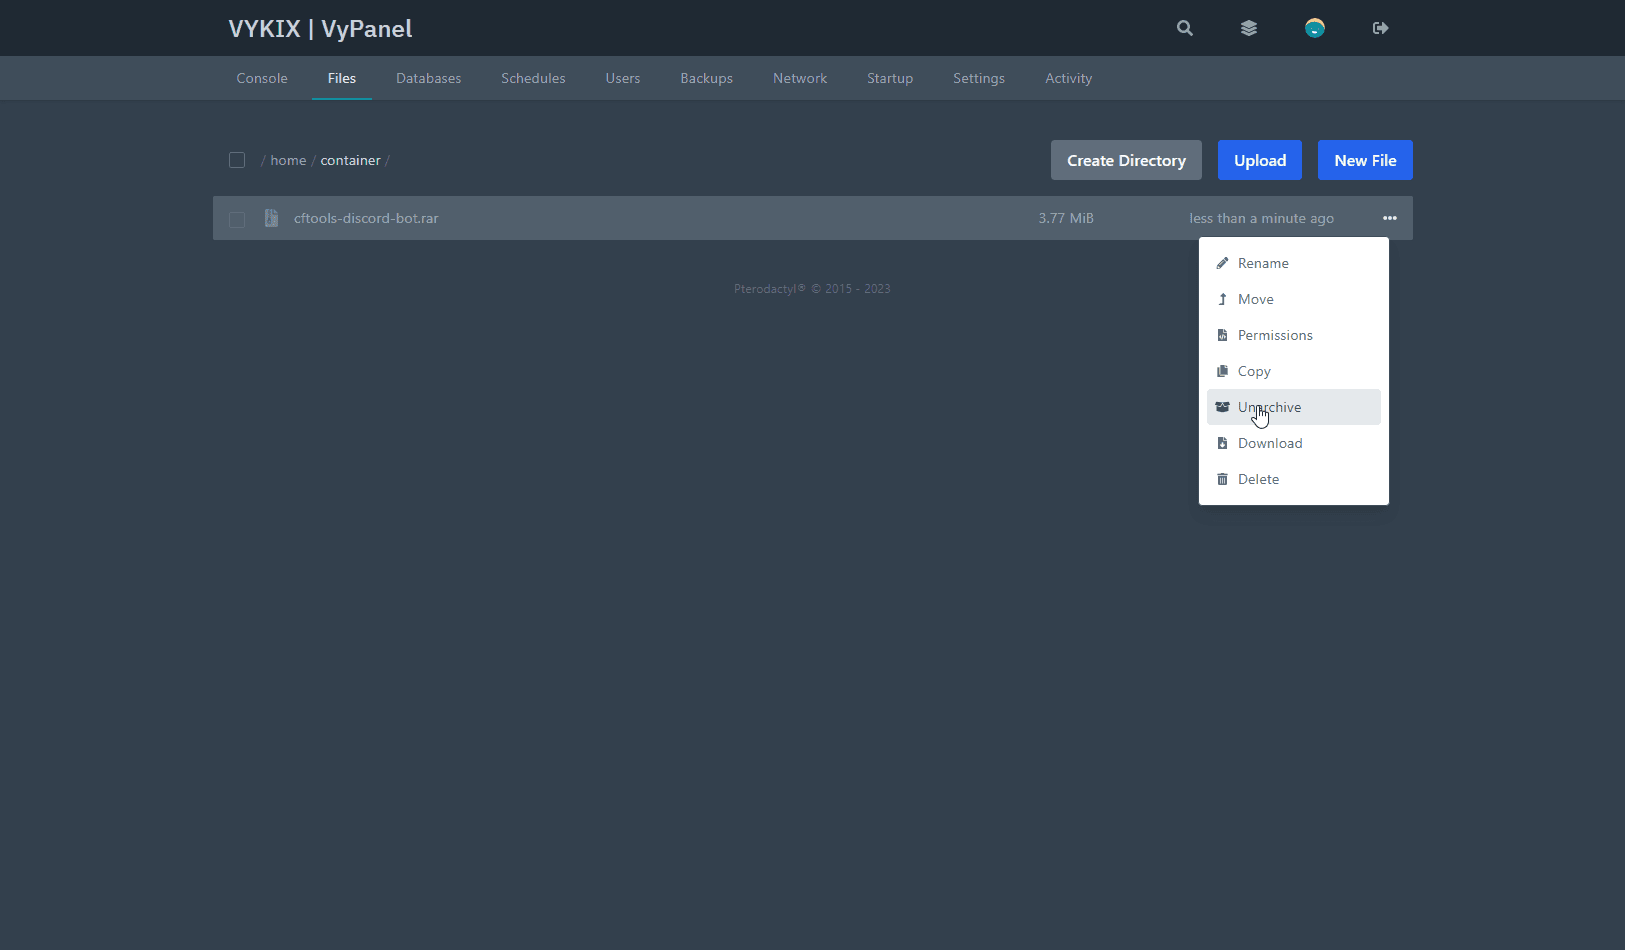
Step 4: Upload your (compressed/zipped) bot files
Navigate to your Discord bot panel/dashboard, and upload the compressed archive.

Step 5: Unarchive your files
Once upload has finished, unarchive your files.
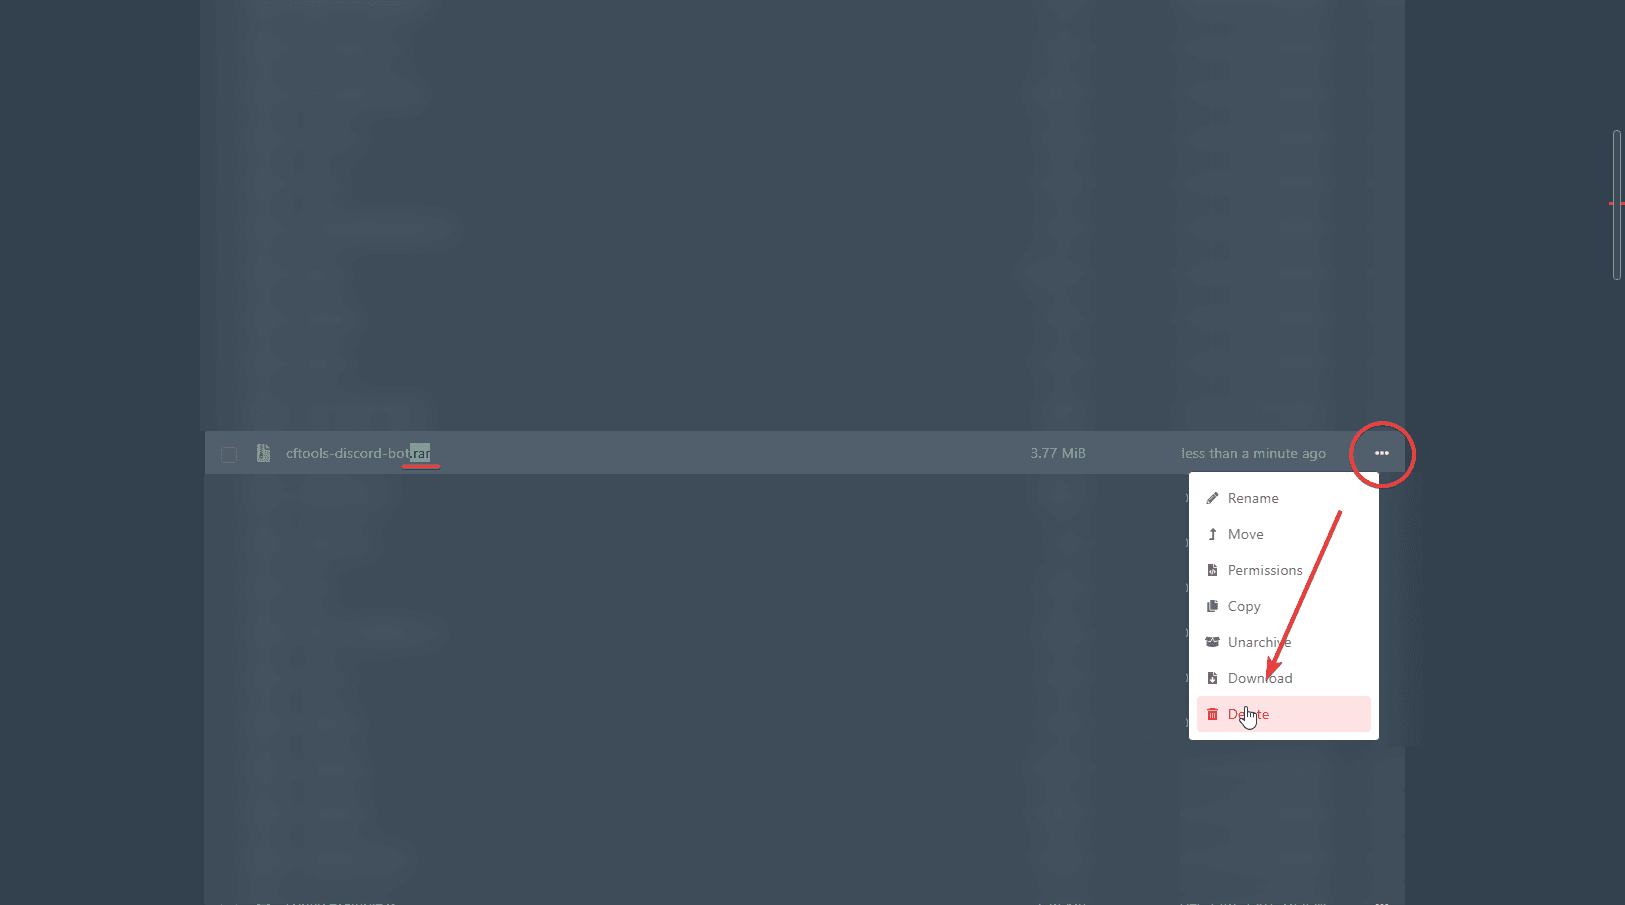
Step 6: (Optional) Remove archive/compressed file
To save space, you can remove the compressed archive.
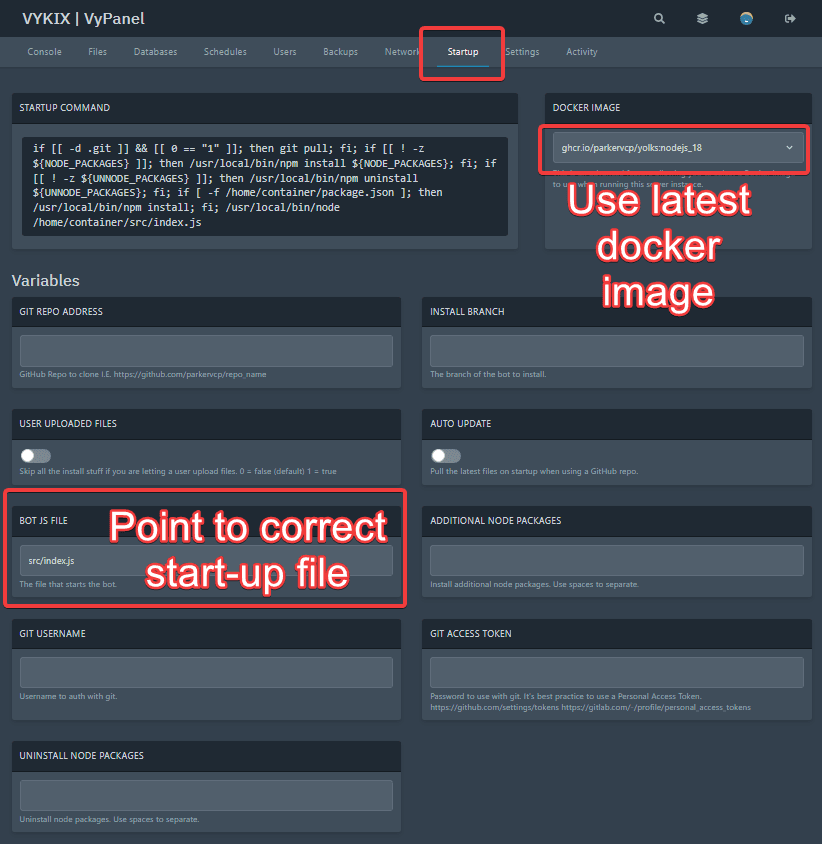
Step 7: Configure start-up script
Make sure to configure the latest Docker image for NodeJS, and configure the entry file that starts our application. (In our example, srcx/index.js)
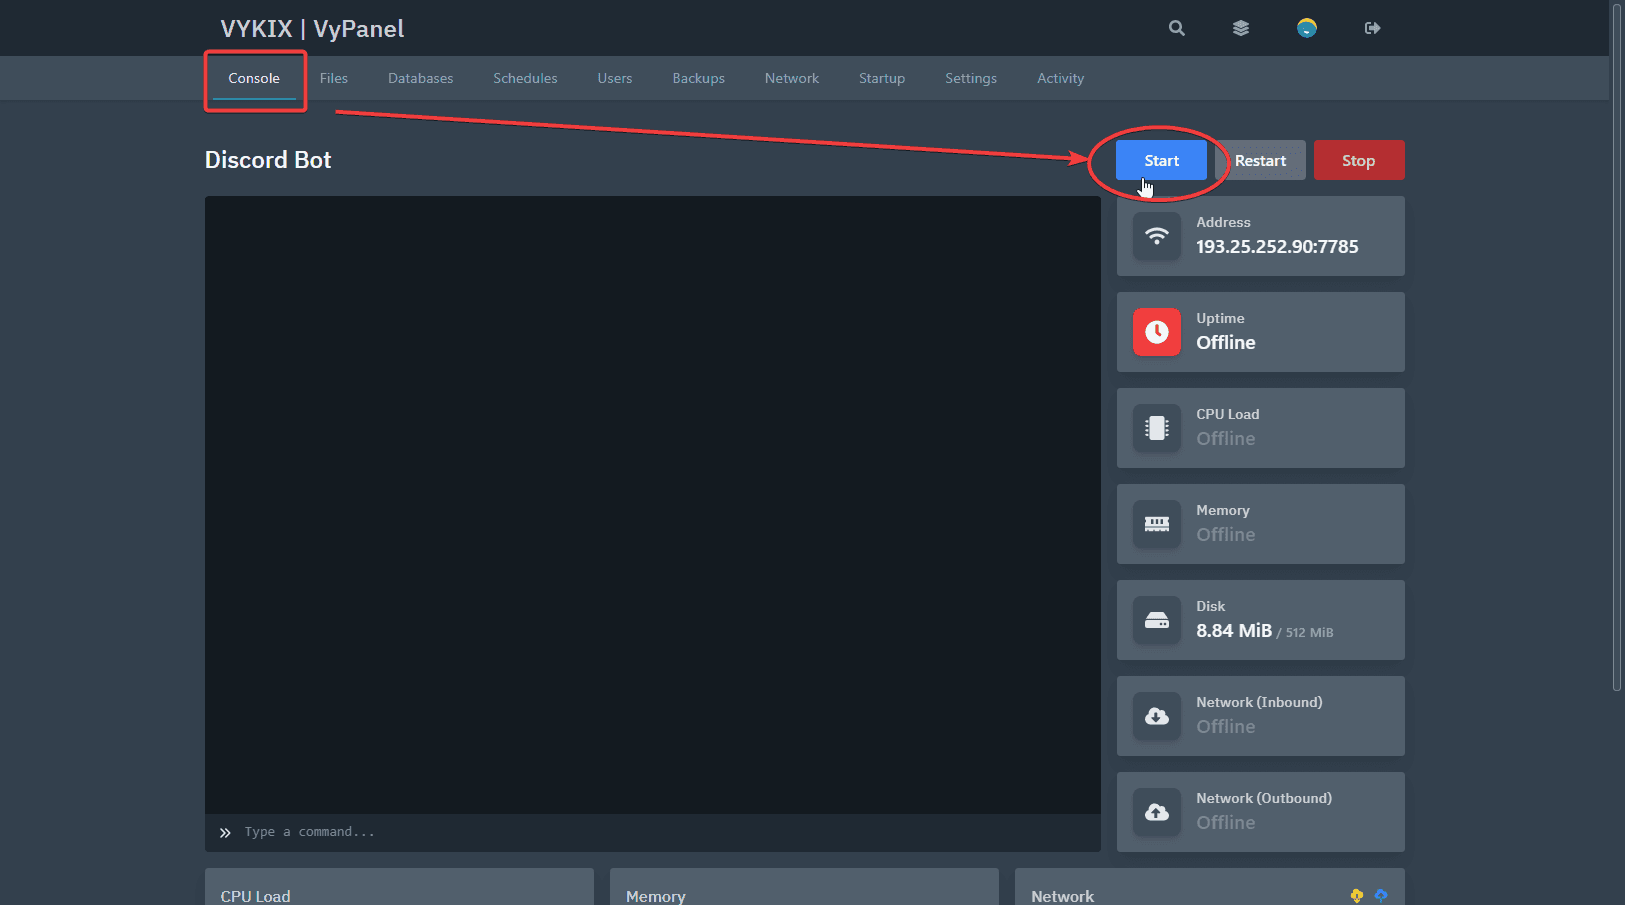
📌 Starting your application
🥳 That's all - you can now start your application and it will be up and running in no time! 🥳